
Its time to get moving! In this project we show you how to get things moving with Arduino. You will need an arduino, a servo, a potentiometer and some wires. If you have the sparkfun inventor kit, it has everything you need (You can pick up the inventor kit HERE).
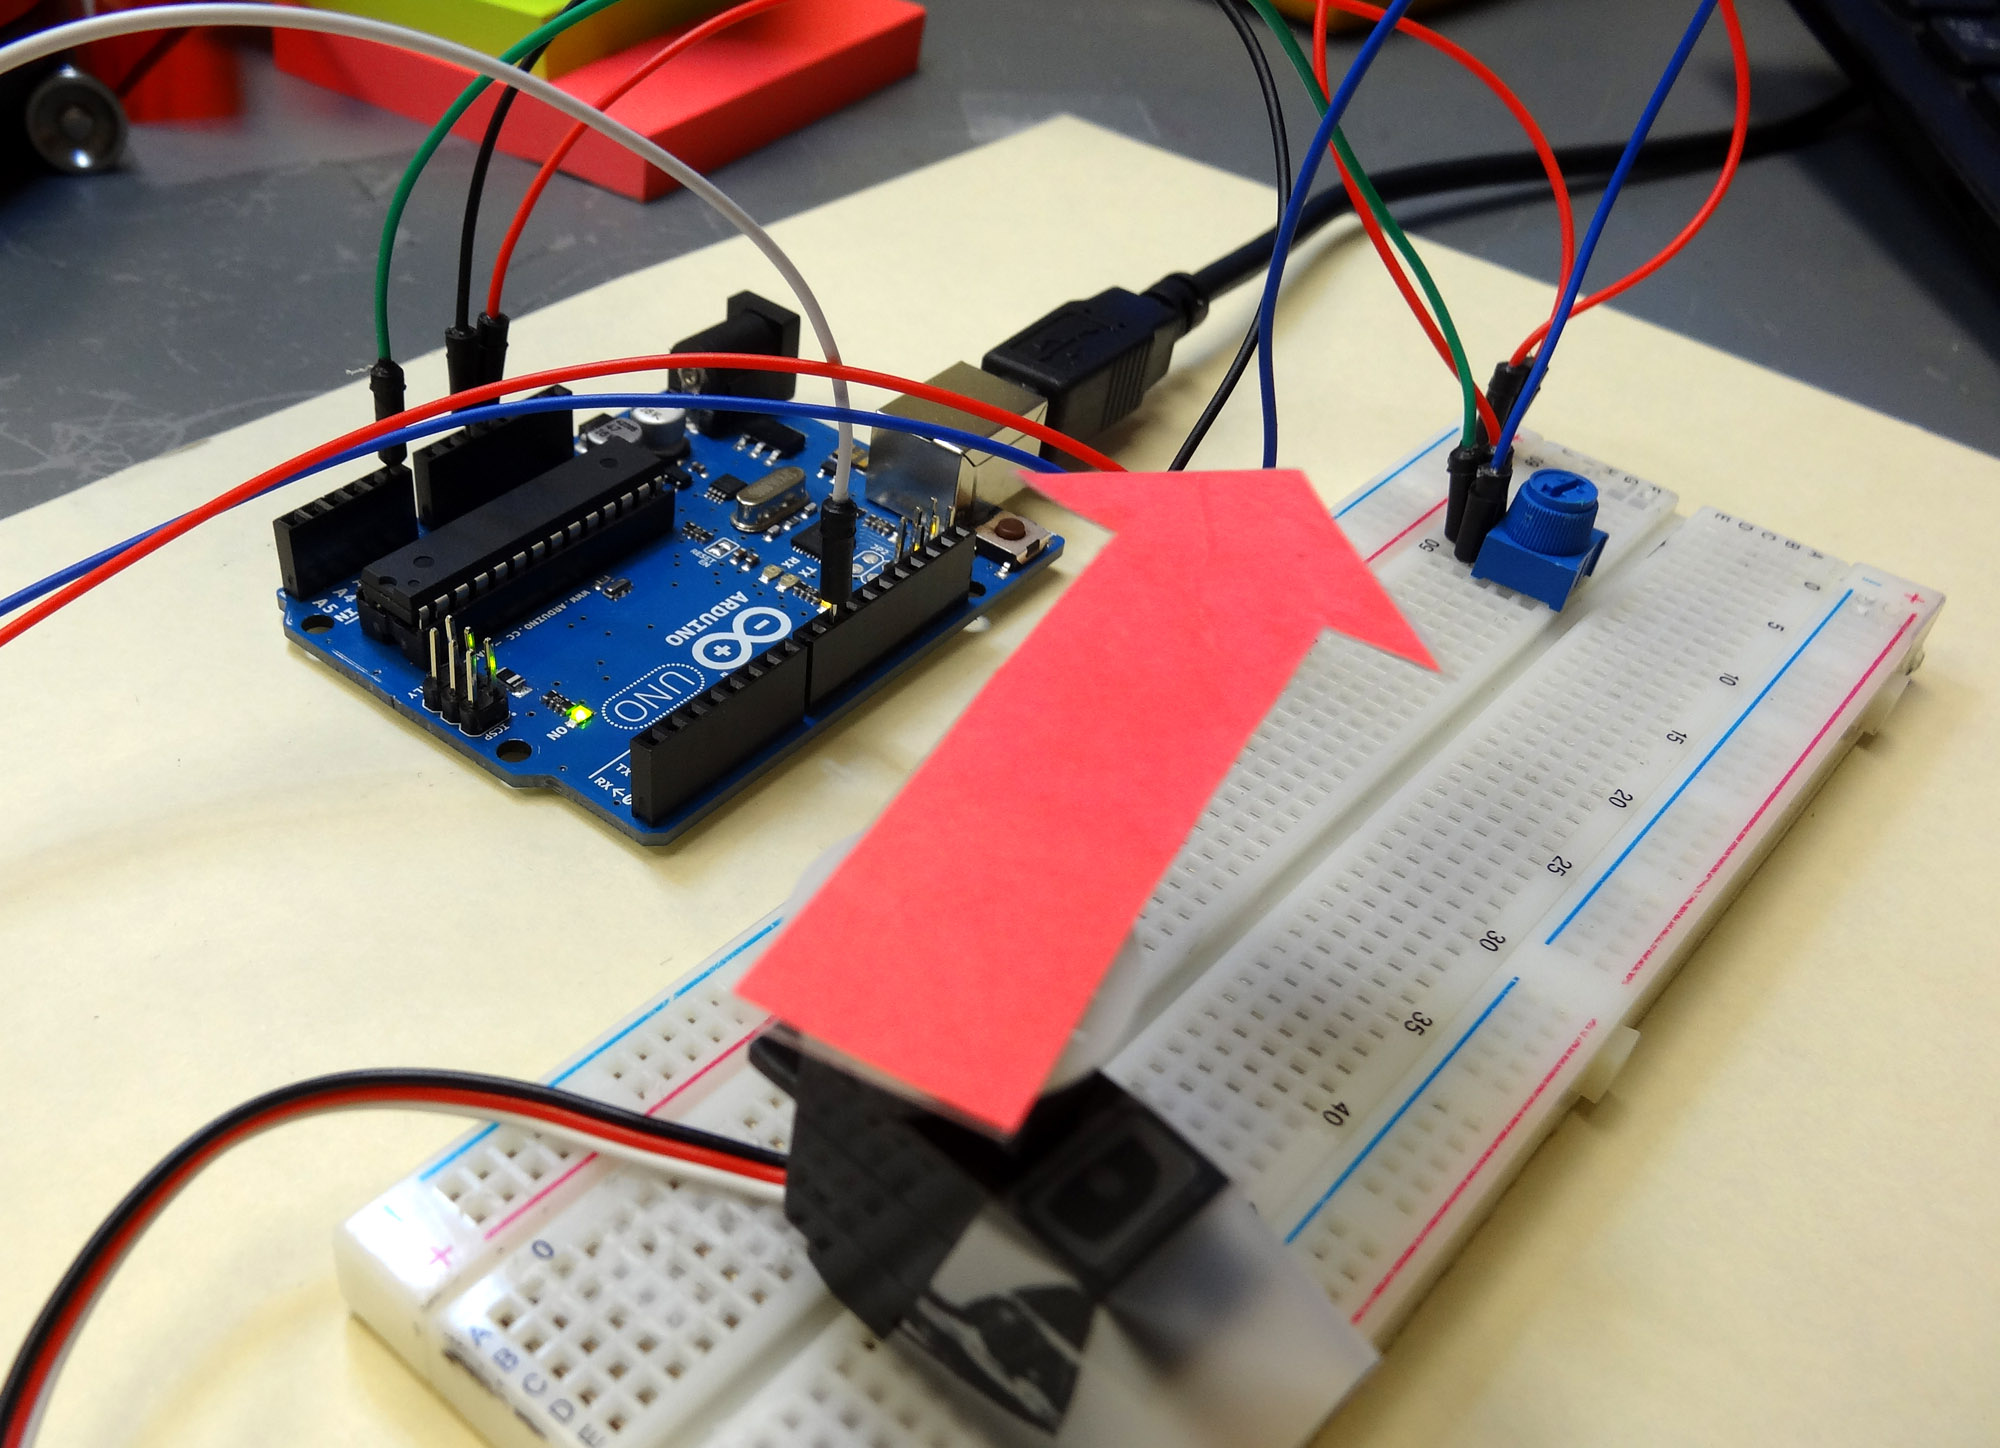
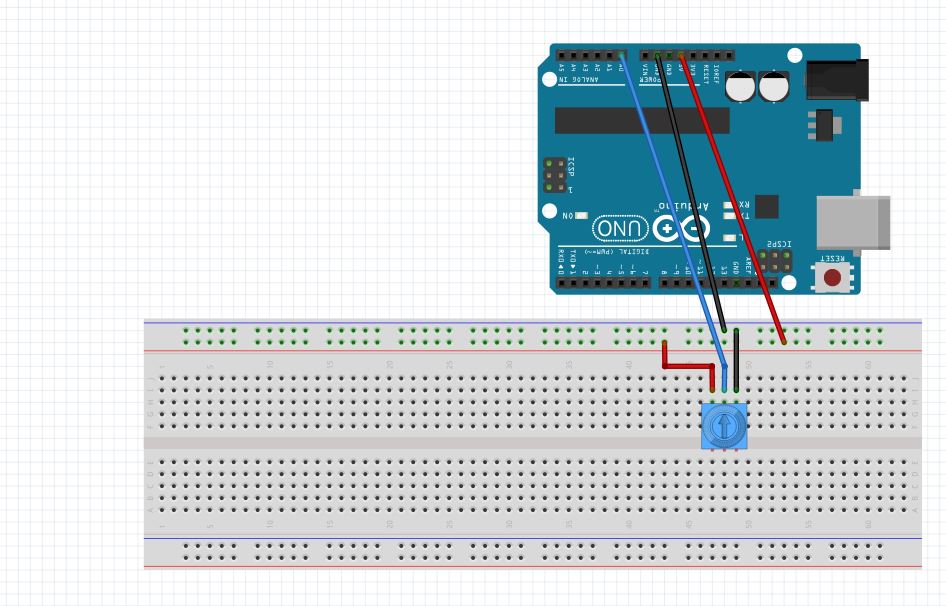
For this project, our objective is to control the position of a servo based on the setting of a potentiometer. The servo should “track” the position of the potentiometer. In order to do this, we will need to start with our Voltage Divider Potentiometer circuit from LESSON 10. In addition, we will need to hook the servo up. for the servo in the sparkfun kit, it has three wires . . . red, white, and black. The red line is for power, so it should be hooked up to 5V from the arduino. The black line is ground, and should be hooked up to ground on the arduino. The white line is the control line, and it should be hooked up to one of the arduino pins with a squiggly line. For this example, I am using pin 9. The small servo that comes with the sparkfun kit can be powered directly from the arduino. Understand that many servos draw lots of power, and require a separate power supply, and just the control line connects to the arduino. Realize that you must be careful and not hook a larger servo to the arduino for power, as that can damage your arduino. The one in the sparkfun kit can be driven by the arduino without a problem. Also, some servos have a different color code on the wires. Many have red/orange/brown wires. For many of these types, the red is for power, the orange is for the control line, and the brown is for ground. Be sure to check the instructions on your servo to verify the color code. As a reminder, this is circuit diagram for the potentiometer, which you will be using in this project.
Most servos are designed to be operational in a range from 0 degrees to 180 degrees. The truth is though, that most will not operate over that full range. Also, you need to know that overdriving the servo beyond the range it wants to be in can damage both your arduino and your servo. Each servo is different, and sometimes two servos with same model number from the same manufacturer will have different ranges. Especially in the cheap ones (like in the sparkfun kit) have very different ranges.
So before going to far in any project you need to determine the range that your particular servo will operate in. In order to do this we need to write a simple program that will move the servo. In order to control the servo from the arduino, there are several things that must be done. The first is that you must “load” a library. A library is a special set of code written by the folks who make or sell the device in order to make it easier for you to work with. Libraries allow us to work with components in a more intuitive way. For the servo, you need to load the servo library, which comes with the arduino software you originally downloaded. To load the library, you need the following code at the top of your program:
|
1 |
#include <Servo.h> |
Then, you need to create a servo “object”. This object will then be something you interact with to make the servo move. You can all the object anything you want, but I think I will call mine “myPointer” since I am going to make my servo point at things. The code to create the servo object would then look like this:
|
1 |
Servo myPointer; //Create a Servo Object |
OK, now to make the servo go to a certain position, I would just have to issue a command like this:
|
1 2 |
myPointer.write(pos); delay(15); |
This command goes to ‘pos’ which should nominally be between 0 and 180. But remember that most servos will not go over that full range, so we will need to play around to see what range our servo can safely achieve. Also, the short 15 millisecond delay after moving the servo gives it time to get there and settle down. Never try and write the servo faster than it can naturally move.
The one other thing you need to do is let the arduino know which pin the servo is connected to for the control line. We are using pin 9, and will set up a variable at the top of the code to set servoPin=9, but it can be any pin that can analogWrite (one with a squiggly line). To tell your arduino where the servo is connected, for the case of my servo which I names myPointer, the following code should be put in the void setup:
|
1 |
myPointer.attach(servoPin); //Tell Arduino that servo is hooked to ServoPin) |
What you need to do now is write a program that will input the user for a position, and then write that position to the servo. The purpose of this is to determine the natural range of your particular servo. You should write this program yourself, but if you get stuck you can look at my code below. You should use this as a help if you need it, but your should not cut and paste it. Write your own code!
|
1 2 3 4 5 6 7 8 9 10 11 12 13 14 15 16 17 18 19 20 21 22 23 24 25 26 27 28 |
#include <Servo.h> //Load the servo Library int pos = 0; // variable to store the servo position int servoPin= 9; //Servo is hooked to pin 9 int servoDelay=25; // 25 millisecond delay after each servo write Servo myPointer; //Create your servo object. I call mine 'myPointer' void setup() { Serial.begin(9600); myPointer.attach(servoPin); // attaches the servo myPointer to pin servoPin, which should be pin 9 } void loop() { Serial.println("Where would you like the Servo?"); //prompt user for position while (Serial.available()==0) { //wait for user input } pos=Serial.parseInt(); //read user input into pos { myPointer.write(pos); //set servo position to pos delay(servoDelay); // waits 15ms for the servo to reach the position } } |
OK, with this code we should see the arduino prompt the user to a position and then write that position to the servo. The thing to do with this code is play around and figure out what range of motion your arduino can achieve. If you arduino sits and twitches, you have probably overdriven it. Keep playing with the numbers until you determine the range your servo can sweep to without jittering.
Once you know that range, you can play around with the code and the servo. Create a program that will smoothly sweep the servo through its range of motion. For my servo, I created the following code. Again, play with it yourself, and use this code only if you get stuck. Also, realize that my servo operates from 15 to 170 degrees, so that is why I used those numbers. You need to determine the range of motion for your servo, and use those numbers in the program.
|
1 2 3 4 5 6 7 8 9 10 11 12 13 14 15 16 17 18 19 20 21 22 23 24 25 26 27 28 29 |
#include <Servo.h> int pos = 0; // variable to store the servo position int servoPin= 9; int servoDelay=25; Servo myPointer; void setup() { Serial.begin(9600); myPointer.attach(servoPin); // attaches the servo on pin 9 to the servo object } void loop() { for (pos=15; pos<=170; pos=pos+1) { myPointer.write(pos); delay(servoDelay); } for (pos=170; pos>=15; pos=pos-1) { myPointer.write(pos); delay(servoDelay); } } |
Now we need to write a program that will set the position based on the position of the potentiometer. We want the servo to point to the left if the potentiometer is positioned all the way to the left. Similarly we want the servo to point to the right if the potentiometer is all the way to the right. We need to do the math carefully to make sure that we do not try and overdrive the servo. You must assume the user has no knowledge of servos and will turn the potentiometer to any position. In order to make sure the servo is not over-driven, you must carefully do the math. For this case, what is the independent variable? It is the number coming off the potentiometer. That is what you or the user “sets”, that is the independent variable, that is the horizontal axis. Now, what is the dependent variable? That is the pos (position) number. That is what you want to calculate from the independent variable. To do the math, think about the two points you know. You know that the potentiometer reads from 0 to 1023. You know that for my servo (yours will be different) the range of useful motion is from 15 to 170. So, when the potentiometer is set to 0 we want the position to be 15. There, you have one point, the point (0,15). Now we also know that when the potentiometer reads 1023, we want to position the servo at 170. So, now we have another point, the point (1023, 170). Now we have two points and can create the equation that will allow us to calculate the Pos based on the reading from the potentiometer. You should be able to do this by yourself now, but if you get stuck you can look at my notes. Remember, you need to do it for your values of useful range on the servo, not my numbers of 15 and 170.

So with this equation you can now calculate a pos for the servo based on the reading from the potentiometer. You should be able to write the code now to control the servo position from the potentiometer. If you get stuck watch the video that provides step-by-step directions on the code.