
In this lesson we are going to learn to use an LCD display. This really allows us to take our Arduino projects to that next level! We will first get the LCD hooked up and show we can display a simple welcome message. Then we will use it to display the distance measurement being made from the ultrasonic sensor. So, do not take your project apart from LESSON 18.
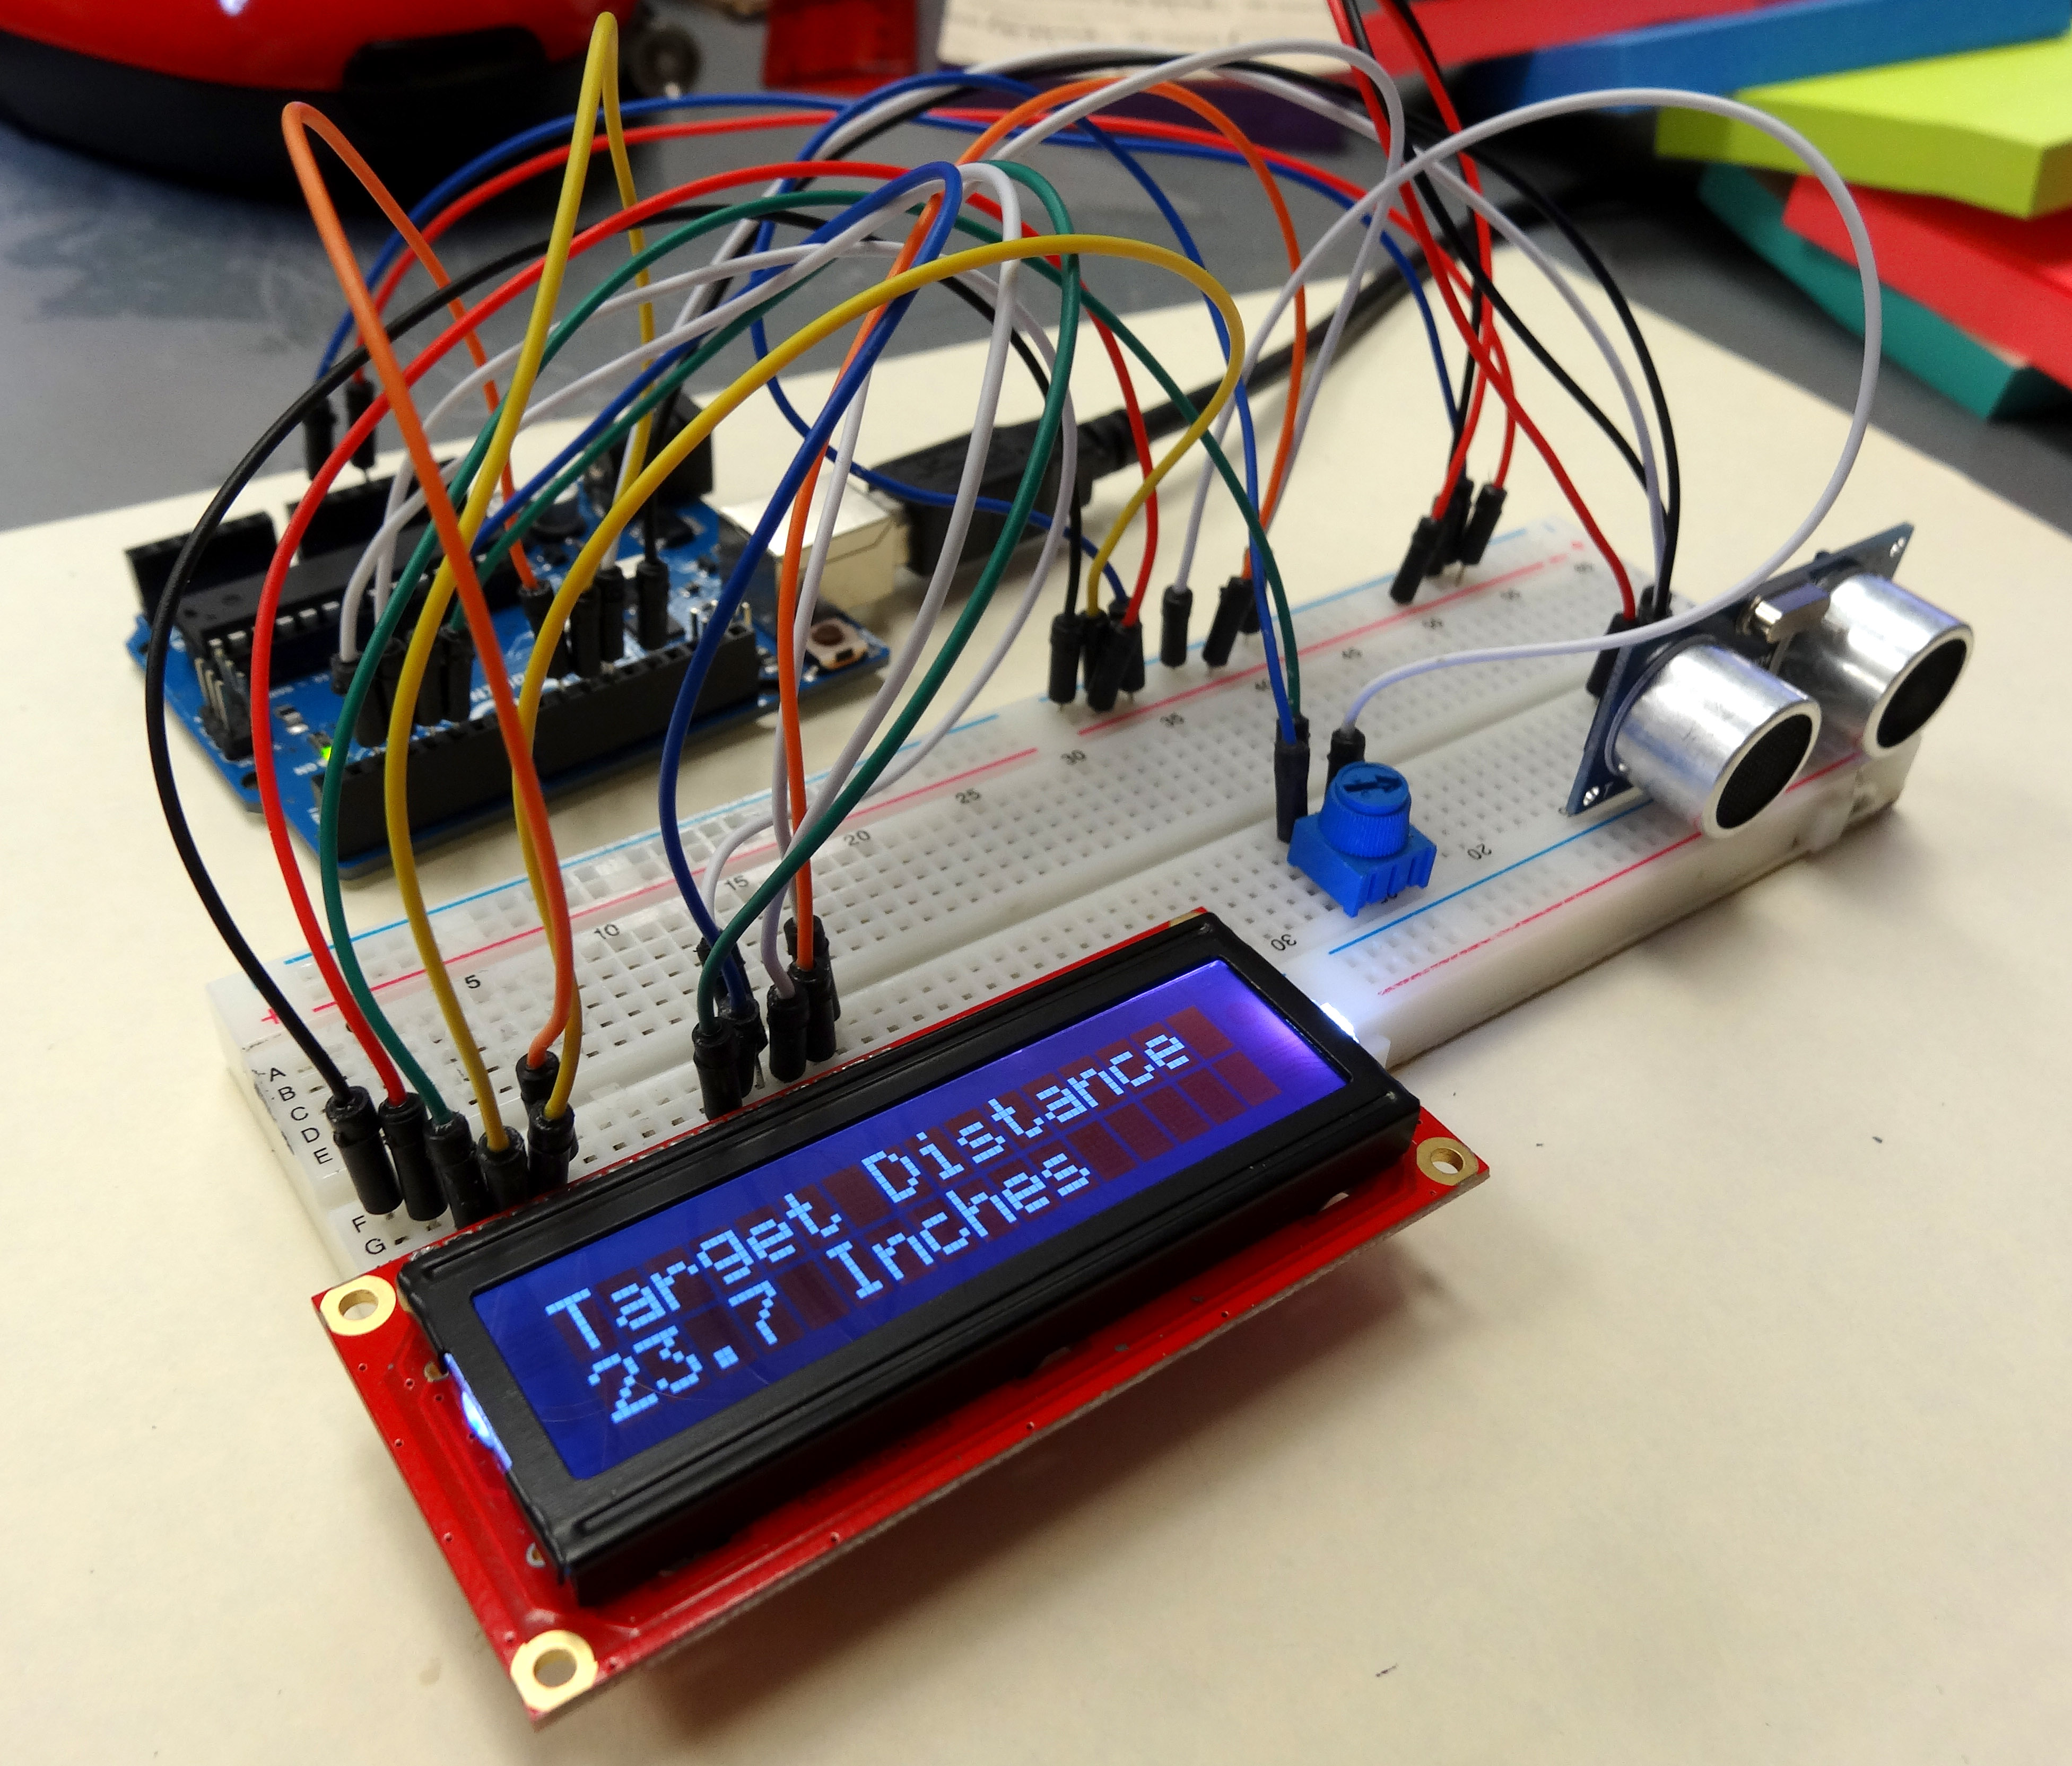
This table shows you how to connect your Sparkfun Inventor Kit LCD to your arduino. (If you do not have the kit, and want an LCD like the one in this tutorial you can order it HERE.) When oriented like the photograph above, pin one is the pin in the upper left corner, and they are numbered sequentially from left to right. The table below shows the connections needed to allow the arduino to work with this LCD using the code we will write in this lesson. The pinout of other LCD might be different, but if you connect the LCD named pins in column 2 to the Arduino pins in column 3 in the table below, you should be able to get many of the 16X2 LCD’s to work.
| Connections for Sparkfun Inventor Kit LCD | ||
| (for others column 1 might be different) | ||
| LCD Pin # | LCD PIN NAME | Arduino Pin |
| 1 | VSS | GND |
| 2 | VDD | 5V |
| 3 | V0 | Pot Center Pin |
| 4 | RS | 10 |
| 5 | RW | GND |
| 6 | E | 9 |
| 7 | DB0 | NOT CONNECTED |
| 8 | DB1 | NOT CONNECTED |
| 9 | DB2 | NOT CONNECTED |
| 10 | DB3 | NOT CONNECTED |
| 11 | DB4 | Pin 5 |
| 12 | DB5 | Pin 4 |
| 13 | DB6 | Pin 3 |
| 14 | DB7 | Pin 2 |
| 15 | Backlight LED +V | 5V |
| 16 | Backlight LED GND | GND |
For this project, you can use the table above to connect your LCD to the Arduino. The diagram below is a graphical representation of the connections for LCD like mine.
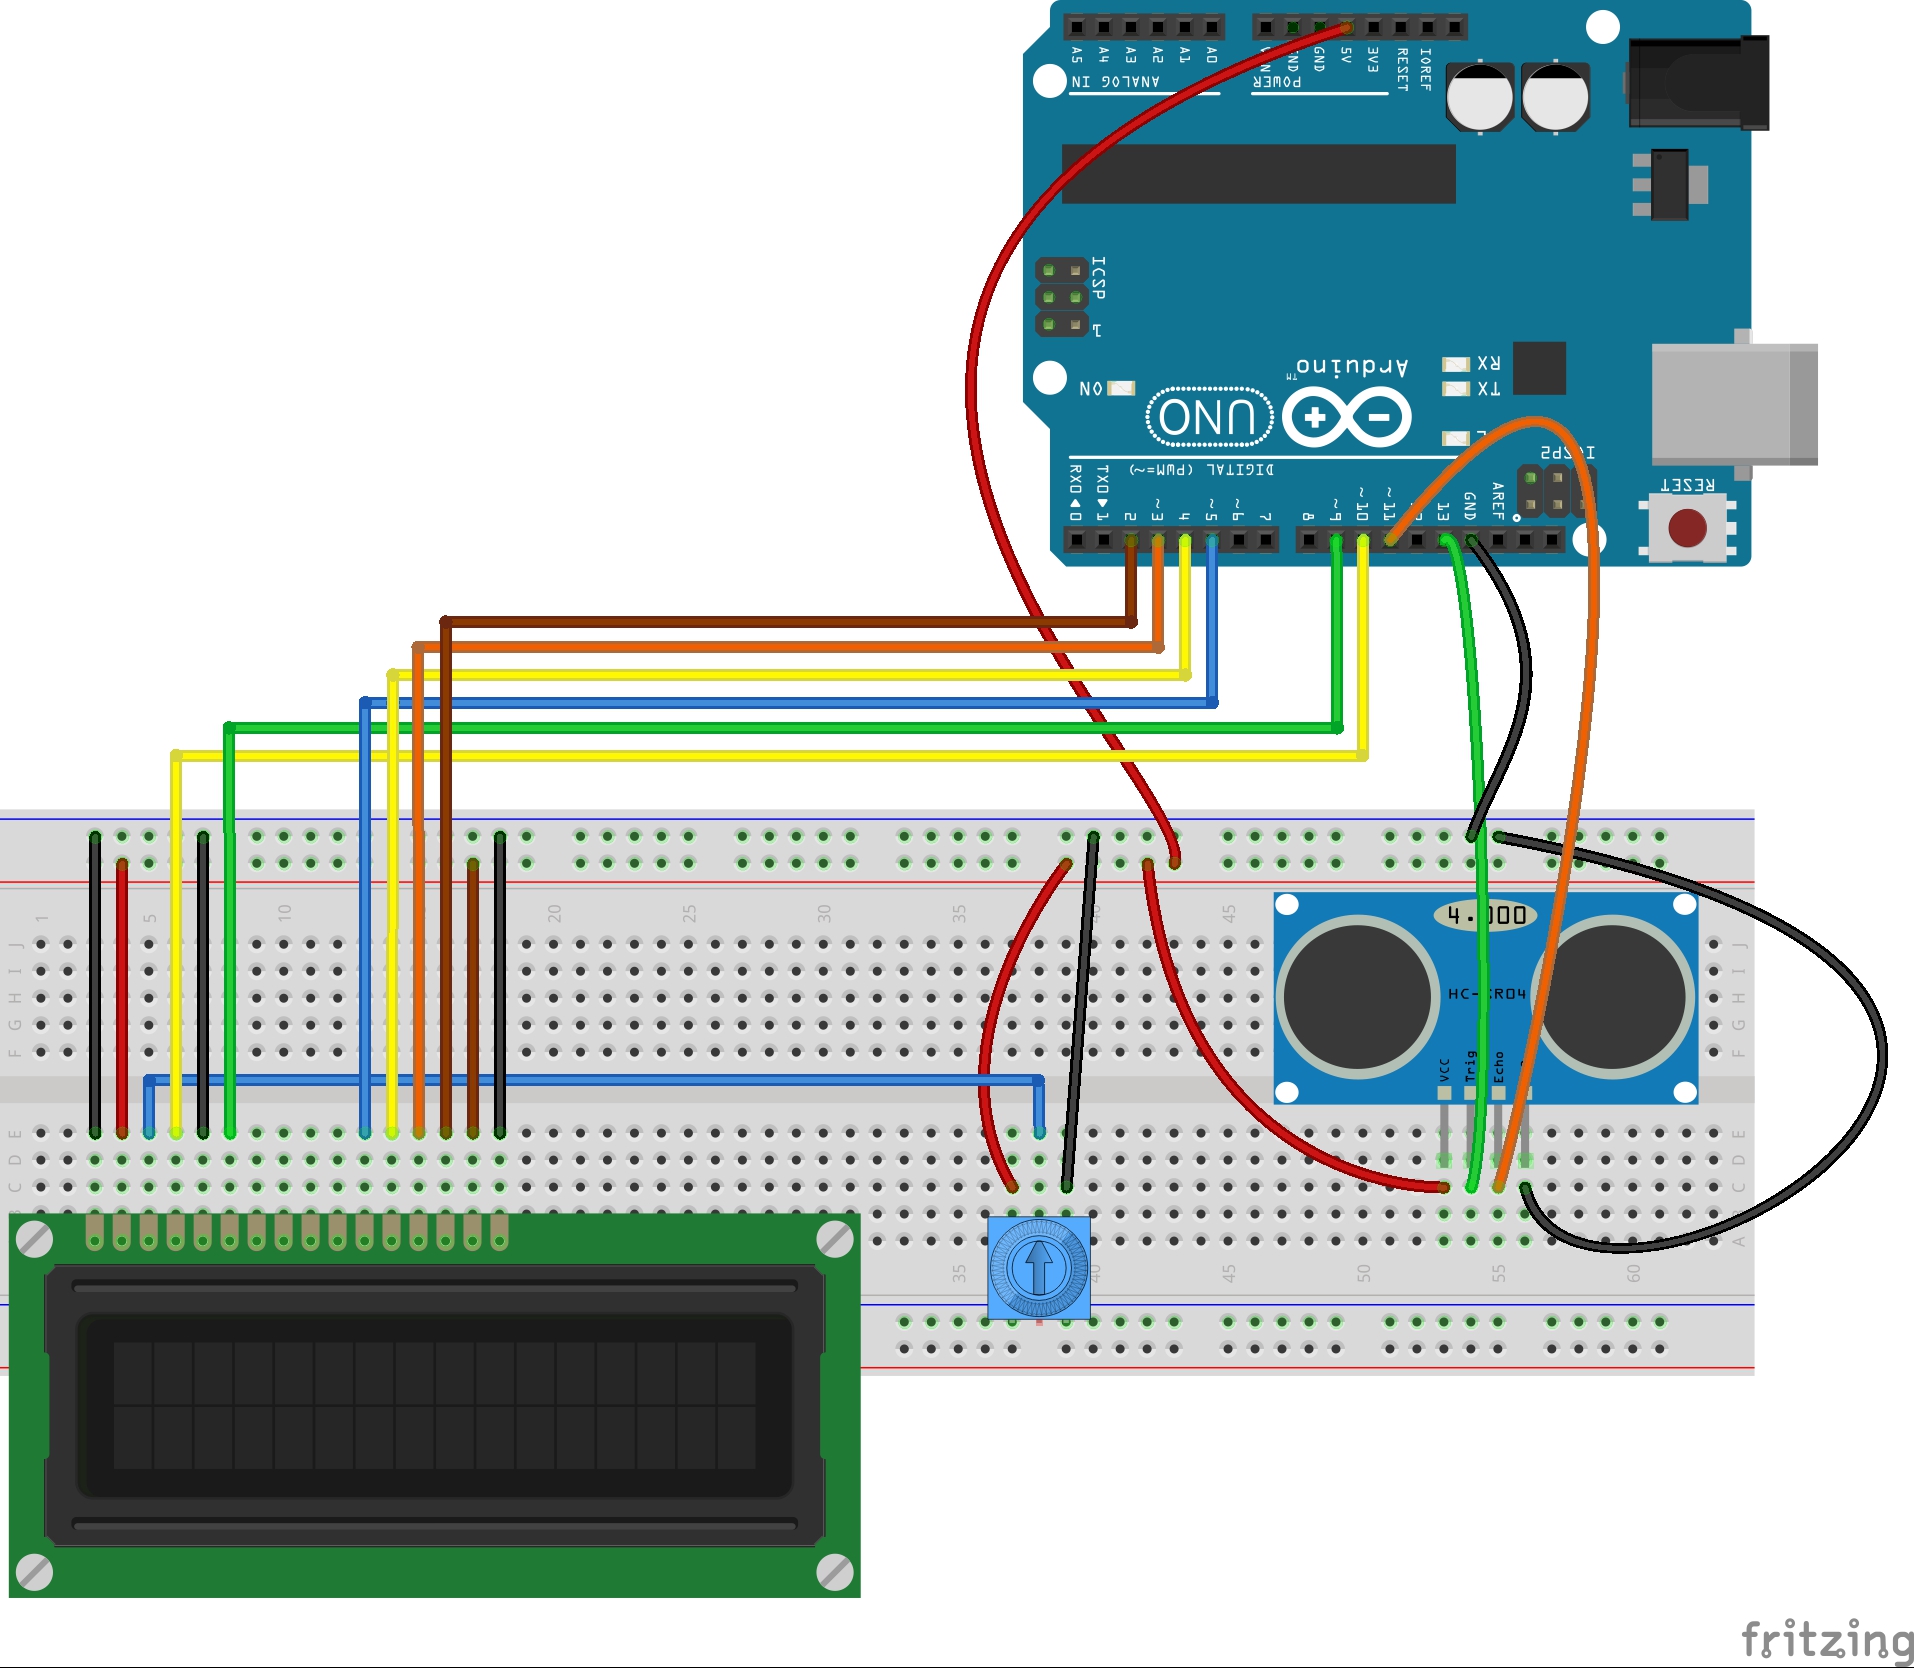
These LCD are tricky to hook up because there are so many wires. You have to be very careful, and you have to make sure your LCD is oriented properly. Check the spec sheet that comes with you LCD carefully to verify connections are correct.
Once the LCD is wired up, it is fairly straightforward to use.
At the top of your code, you will want to make sure that you load the LCD library. This is a standard library that comes with your arduino software. You load the library by putting the following code at the top of your program:
|
1 |
#include <LiquidCrystal.h> |
Also at the top of the code, you want to create you LCD object, which also tells Arduino how you are connected to it:
|
1 |
LiquidCrystal LCD(10, 9, 5, 4, 3, 2); //Create Liquid Crystal Object called LCD |
The numbers tell Arduino that we have RS hooked to pin 10, E hooked to pin 9, DB4-DB7 connected to Arduino pins 5-2, as shown in the table above.
In the void setup, you will want to tell the Arduino that your LCD has 16 columns and 2 rows. You should put this code in your void setup, since you only need to do it one time:
|
1 |
LCD.begin(16,2); |
You are now just about ready to start sending messages to the LCD. You need to start by telling the Arduino where on the LCD to begin the message. Remember that it always wants column first, then row, and that it starts with ‘0’. Therefore, the upper left character would be column 0, row 0, or (0,0). To set the cursor to the upper left corner, you would send command:
|
1 |
LCD.setCursor(0,0); //Set LCD cursor to upper left corner, column 0, row 0 |
So now lets make a simple Counter. We will count off seconds. We start by printing “My Timer” on the first row. We do that with the command:
|
1 |
LCD.print("My Timer:"); //Print Message on First Row |
Now we would go to the second row and print a counter. Lets bring all the code together in the following working program.
|
1 2 3 4 5 6 7 8 9 10 11 12 13 14 15 16 17 18 19 20 21 22 23 24 25 26 |
#include <LiquidCrystal.h> //Load Liquid Crystal Library LiquidCrystal LCD(10, 9, 5, 4, 3, 2); //Create Liquid Crystal Object called LCD int myCounter=0; //declare your variable myCounter and set to 0 void setup() { LCD.begin(16,2); //Tell Arduino to start your 16 column 2 row LCD LCD.setCursor(0,0); //Set LCD cursor to upper left corner, column 0, row 0 LCD.print("My Timer:"); //Print Message on First Row } void loop() { for (myCounter=1; myCounter<=10; myCounter=myCounter+1) { LCD.setCursor(0,1); //Go to 1st column(column 0) and 2nd row(row 1) LCD.print(myCounter); LCD.print(" Seconds"); delay(1000); } for (myCounter=10;myCounter>=0;myCounter=myCounter-1) { LCD.setCursor(0,1); //Go to 1st column(column 0) and 2nd row(row 1) LCD.print(myCounter); LCD.print(" Seconds"); delay(1000); } } |
Run this program. If you have your LCD hooked up correctly, you should see the counter working. If it is not showing, you probably have miswired the circuit. Go back and check your circuit carefully. You also might need to play with the setting on the potentiometer to get the contrast set correctly.
Now, watch the counter count up and down carefully. You should notice something peculiar as the counter counts backwards. What do you see that is not good? What you should see is that as you count down from 10 to 9, you end up with an extra ‘s’ on the word ‘Seconds’. You end up with ‘Secondss’. This is a vexing problem which occurs just about every time you try and use an LCD. The reason is that when you go from 10 to 9, printing the number goes from needing two digits to one digit. Then, when you print ‘Seconds’ it is shifted to the left by one character, and you are still left with the last ‘s’ from the previous time you printed ‘Seconds’. Hence you are left with a mess.
There are two ways to clear this up. One way would be to specifically set the cursor to a correct position before printing ‘Seconds’. This would put it in the same place every time, and alleviate the problem. The other possibility is to print a blank line each time through the loop to clear the second line of the LCD. This is something you need to play around with and understand, because it seems to come up every time I try and use an LCD. Look at this code, and try it, and make sure you understand why it fixes the problem.
|
1 2 3 4 5 6 7 8 9 10 11 12 13 14 15 16 17 18 19 20 21 22 23 24 25 26 27 28 29 |
#include <LiquidCrystal.h> //Load Liquid Crystal Library LiquidCrystal LCD(10, 9, 5, 4, 3, 2); //Create Liquid Crystal Object called LCD int myCounter=0; //declare your variable myCounter and set to 0 void setup() { LCD.begin(16,2); //Tell Arduino to start your 16 column 2 row LCD LCD.setCursor(0,0); //Set LCD cursor to upper left corner, column 0, row 0 LCD.print("My Timer:"); //Print Message on First Row } void loop() { for (myCounter=1; myCounter<=10; myCounter=myCounter+1) { LCD.setCursor(0,1); //Go to 1st column(column 0) and 2nd row(row 1) LCD.print(" "); //Print blanks to clear the row LCD.setCursor(0,1); //Go to 1st column(column 0) and 2nd row(row 1) LCD.print(myCounter); LCD.print(" Seconds"); delay(1000); } for (myCounter=10;myCounter>=0;myCounter=myCounter-1) { LCD.setCursor(0,1); //Go to 1st column(column 0) and 2nd row(row 1) LCD.print(" "); //Print blanks to clear the row LCD.setCursor(0,1); //Go to 1st column(column 0) and 2nd row(row 1) LCD.print(myCounter); LCD.print(" Seconds"); delay(1000); } |
OK, your assignment is to play around with the LCD and become comfortable with it. Show me that you can make it do some new and interesting things. Write a program of your choosing that uses the LCD as a display. You might consider making it the display for one of the projects you did in one of our earlier lessons.