Category Archives: Arduino

Arduino Tutorial 43: Binary Counter with 74HC595 Serial to Parallel Shift Register

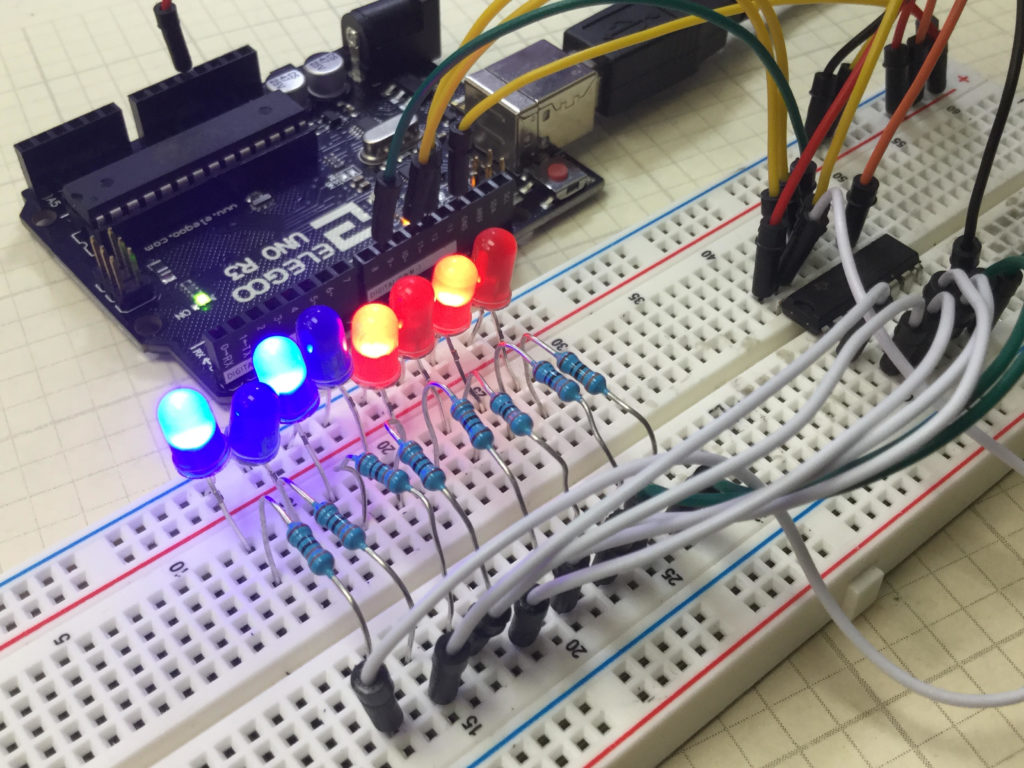
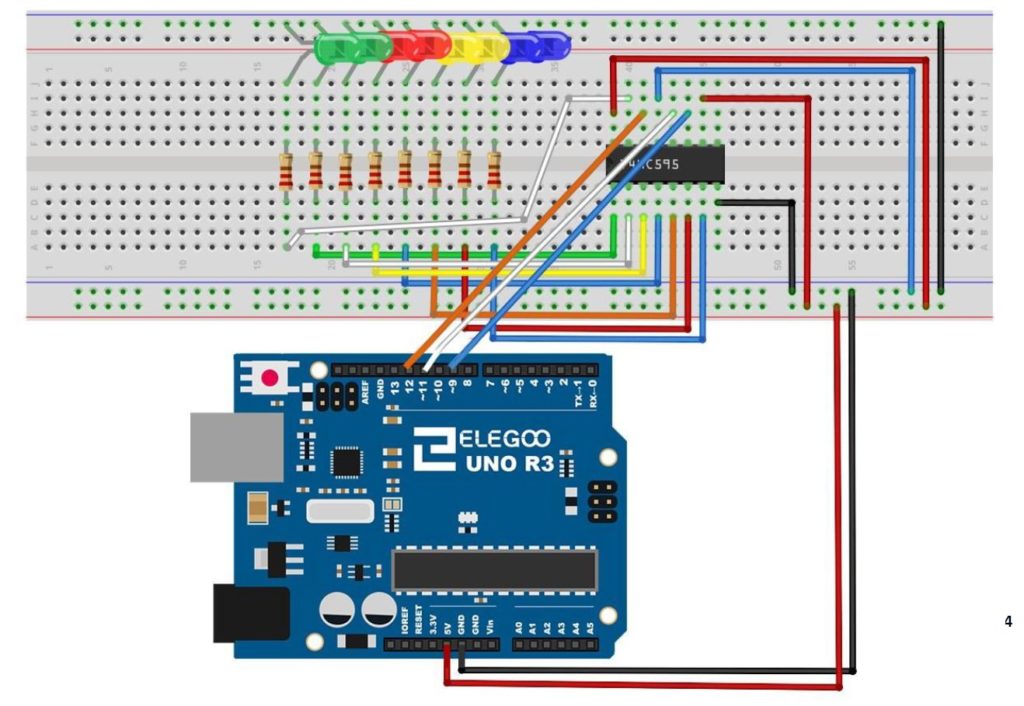
In lesson 42 we showed you how to connect and program the 74HC595 shift register. We showed how data in byte format would then be written to an array of 8 LED to give a visual representation of the binary version of that byte variable. We then gave you the assignment to create a Binary Counter using the 4HC595. In this lesson we show you the solution. This builds on Lesson 42, so make sure to have your basic 74HC595 circuit set up before starting this lesson.

In this lesson we are using parts from the Elegoo Arduino kit, which you can get  HERE. 

The code we ended up developing in this lesson is provided below.


9-Axis IMU LESSON 21: Visualizing 3D Rotations in Vpython using Quaternions

In this lesson we show how to use quaternions from the BNO055 to create a visualization in Vpython. The visualization is a complete 3D free body rotation of a rigid body. To build this project you will need an Arduino Nano, and an Adafruit BNO055 Inertial Measurement Sensor.

This is the code we developed in the video posted here for your convenience. This code is for demo purposes only and should not be used in real applications. It is for educational purposes only.

This is the code we developed on the python side to do the visualization from the passed quaternions.


Arduino Tutorial 42: Understanding How to Use a Serial to Parallel Shift Register (74HC595)

74HC595
In this Circuit the 74HC595 is independently controlling 8 different LEDs.

In this lesson we show you how to expand the number of LEDs or other devices you can control with the Arduino by incorporating a Serial to Parallel converter. The chip we will be using is the 74HCH595. When connected to just a few pins of the Arduino, data can be sent serially to the chip, and then LEDs can be connected to the output pins of that chip. Hence, you can control 8 LEDs using only 3 digital pins on the Arduino.

This is somewhat of a tedious project, because the circuit has lots of wires, and it must be connected perfectly. We use the following schematic in this project:

74HC595
This is the schematic we use in this example to control 8 LEDs from the 74HC595 chip.

The video takes you step by step through the entire build and programming.

The code we used in this build is included below:


9-Axis IMU LESSON 20: Vpython Visualization of Roll, Pitch, and Yaw


This is the arduino code we developed in this lesson to approximate roll, pitch and yaw over small ranges.

This is the python code we developed to visualize the 3 dimensional rotation of a rigid body.


9-Axis IMU LESSON 19: Vpython Visualization of Pitch and Yaw

To play along at home, you will need an Arduino Nano, and an Adafruit BNO055 Inertial Measurement Sensor. In this lesson we create a live visual where a 3D model rotates in space mimicking the pitch and yaw of the breadboard in the real world. We have not yet derived and implemented the math to incorporate roll into the simulation but that will ab done in the next lesson.

This is the code on the arduino side we developed in the video:

This is the code on the Python side we developed in the video: