Tag Archives: High School Science

Arduino Tutorial 1: Getting Started with the Arduino for Beginners

Arduino

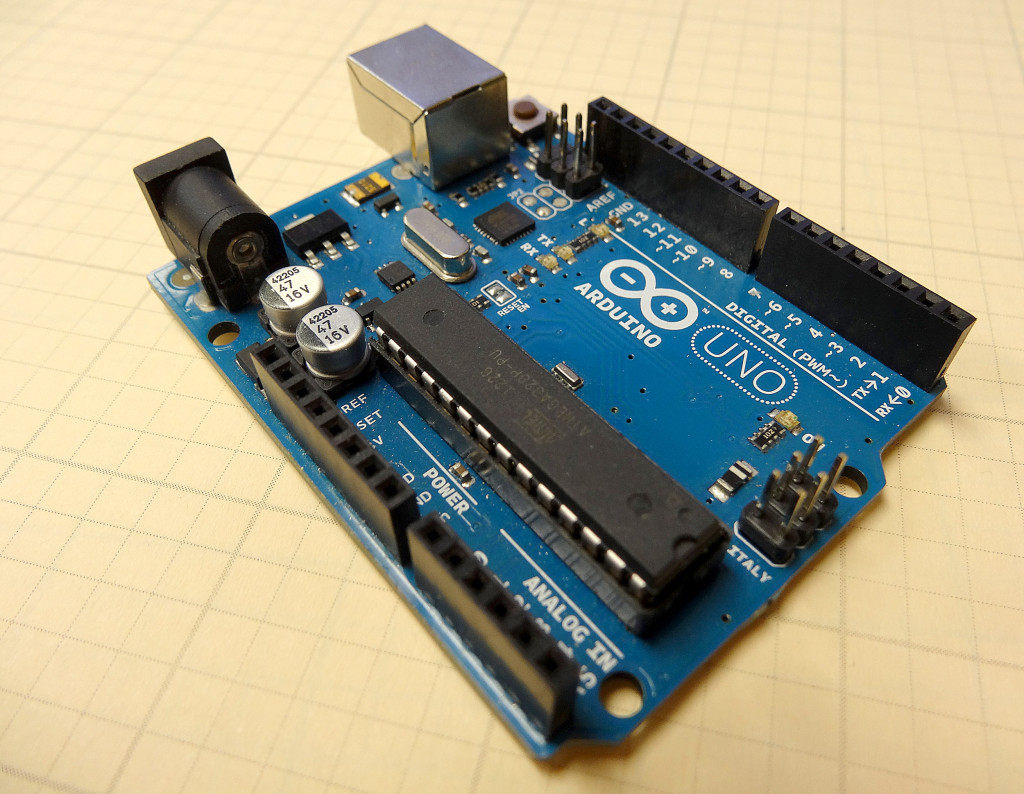
Guys, our original series on the Arduino Microcontroller was insanely popular. Those original lessons had some great technical content, but the production quality of the videos was pretty low. Because of that, I want to go in and redo the arduino tutorials, taking advantage of improved production capabilities I now have, and using fresh hardware and software. For those who have taken the original series, the first few lessons will be material you already have learned. You can choose to review the material, or just skip to the later lessons.  In this new series of lessons, I will be using this Arduino kit. 

So, enough of this small talk, lets get right into the new and improved lessons.

With the hardware linked to above, you will simply have to install the Arduino software. You can download the Arduino Software here. The installation is explained step-by-step in the above video, but it is pretty self explanatory.

The video takes you through the steps to make the on-board LED turn on, off, or blink. This will be your first few example programs, and hopefully you will see that programming is not that difficult. When you are done with this lesson, you will have written your first few programs. Enjoy!

Raspberry Pi Linux LESSON 21: Adding an Admin User With Same Privileges as Pi


In LESSON 19 we showed how  to add users to the Pi with limited permissions. In this lesson we show how to add a user with Admin privileges just like the default “Pi” user.

Fist you will want to log on as the default “pi” user. After logging on, you can add another user with the command:

once the user is added, you can then give them admin privileges like the pi user my modifying the account with the command:

Now your user “paul” has the same admin privileges as “pi”. However if “paul” tries to execute a sudo command it will ask for his password. If you want “paul” to be able to execute sudo without entering password, you need to do the following:

NOTE: Messing up this file will corrupt your operating system. I suggest STRONGLY making a backup of your system before moving forward. Or, you could just leave things as they are, and “paul” will have to enter password when doing a sudo command

 and then you will be nano-editing a file. Add the following to the last line of the file:

paul ALL=(ALL) NOPASSWD: ALL

Then Control o and enter to save the file, and then control x to exit.

Raspberry Pi Linux LESSON 6: Move, Copy, and Delete Files and Folders

In this tutorial we learn how to move, copy and delete files and folders in the Linux terminal window on the Raspberry Pi. These will allow you to start working with files and folders like a pro. Please watch the video above and follow along on your Raspberry Pi. It is really important that you become proficient at navigating the files from the terminal window and command line, and you know how to move, copy and delete files.

Raspberry Pi Linux LESSON 5: File Naming Convention for Files and Folders

Windows is pretty forgiving in how you name your files and folders. In Linux, you must remember that things are case sensitive, and you want to avoid using spaces in your file names and folder names. Also remember, that in linux folders are also called directories. This video shows three suitable naming conventions in Linux that allow the files names to be both descriptive and readable.

Raspberry Pi Linux Lesson 3: Navigating the Folders and Files in Linux

The first thing we need to learn with Linux is how to navigate the file/folder structure in Linux. In windows we do this by just clicking on pictures of folders and files. The file structure in Linux operates the same way. We have a top level folder we call the root folder, and then we have folders and files inside of folders, and then those folders can have more folders and files. It is a tree type structure that you are already familiar with. What is different is we navigate through the files in Linux from the command lines, and not by clicking on pictures of windows and folders. Once you master the command line, you will prefer that to the clicking on pictures method of Windows.

In this lesson we will learn how to navigate through the files. In Linux, you first give the “waht”, that is what you want to do, or the command you want to do, and then you give the “where”, that is, where in the file structure you want to execute the command.

The first command we can learn is pwd. By typing pwd in the command line it will show you what folder you are presently in. That is useful as you are learning to navigate as it will always show you where you are.

The next command is ls. ls simply lists the files and folders in the present folder.

The final command covered in the video lesson above is cd, which stands for change directory.

After the command, you give the “where”, which is the path to where you want to do the command.

The method of navigating and understanding the file structure is easier to communicate by showing you, so please watch the video above. If you follow the video, you should clearly understand how the path methodology works in linux.